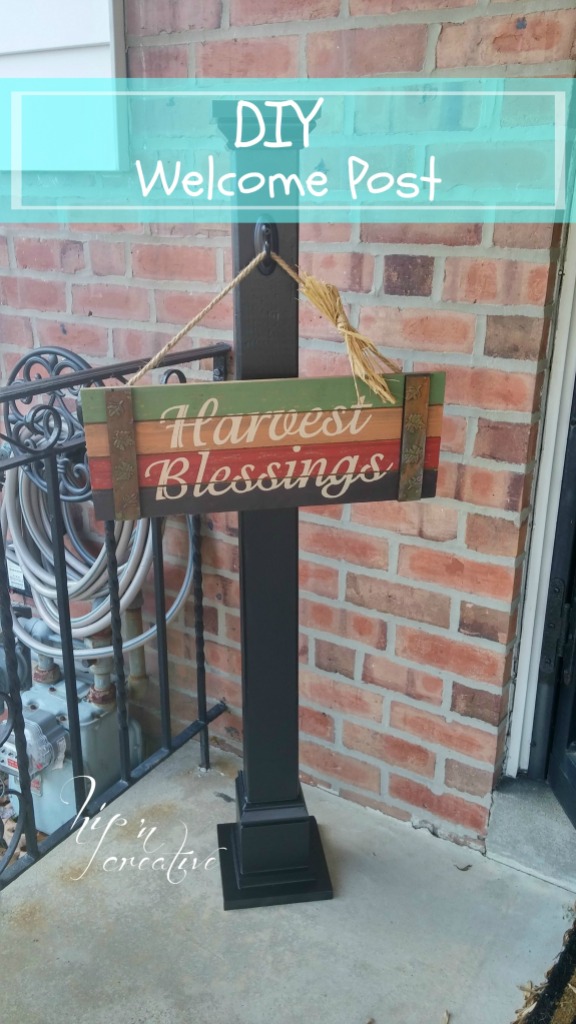
DIY Welcome Post
Today I wanted to share a DIY tutorial that is super cute and can be used all year long. I was inspired by welcome post signs I’ve seen on Pinterest but wanted to add my own twist using materials I already had available. The only thing I purchased was the 4x4x8 post. If you do purchase any materials, you will be able to make (2) 4ft. Welcome Posts. One for you and one to give away. Or you can use the other post to make any number of projects!
Tools and Materials Needed:
- 4x4x8 wood post (I cut mine down to 4ft high) If you can’t cut it at home your local Home Depot can cut it for you fo’ FREE
- wood glue
- 1×12 cut down to 1- 5×5 wood square
- 1×12 cut down to 2- 6×6 wood square
- scrap window trim (optional) big enough for the 4×4 post top
- scrap base molding (optional) big enough for the 4×4 post base
- white paint (I used some left over paint, hehe) (optional)
- black spray paint -or any color you choose
- wall hook
- caulk and wood filler-optional -I used it to fill any gaps on the trim
- screws and drill -optional or gorilla glue
- sand paper
DIRECTIONS
STEP ONE: First thing we did was cut down all our wood pieces that needed to be cut. I had my husband do the cutting for me, i’m not too skilled at using the saw and didn’t want to hurt myself.
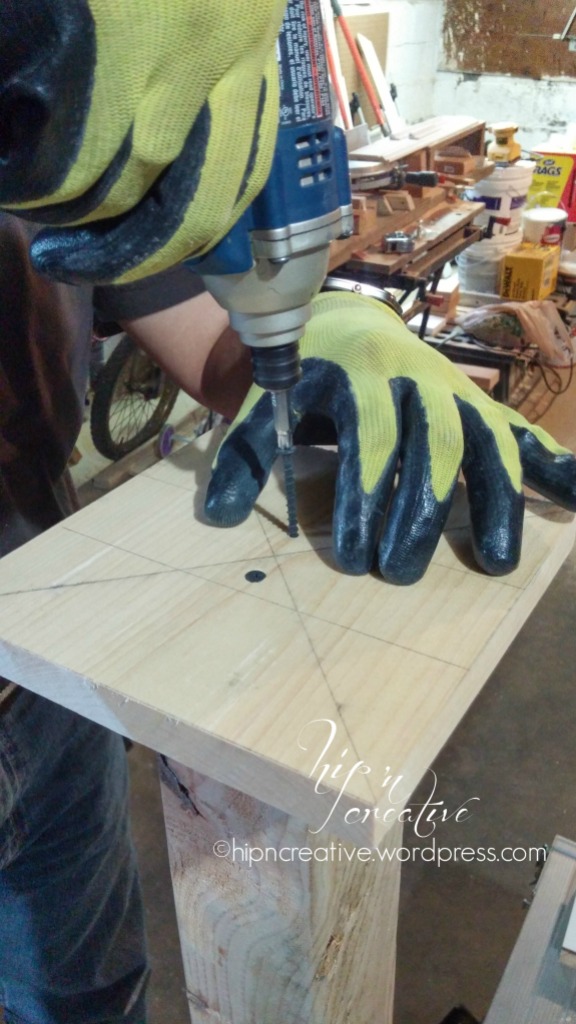
STEP TWO: Next we pre-drilled holes in the center of each cut piece at the top and bottom of the 4×4 post. It helps to center the pieces together easier. We attached (2) 6×6 square cuts to both the top and the bottom of the post and (1) 5×5 square to just the top of the post. securing it with a screw that we countersunk making sure to keep it flush to the board.

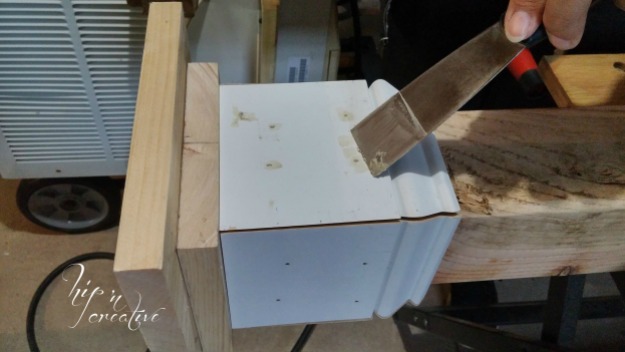
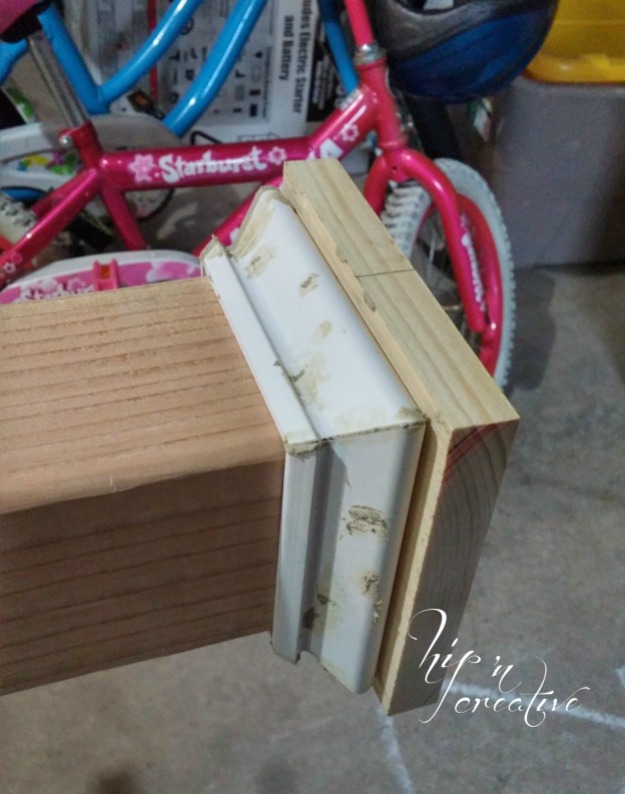
STEP THREE: Using a finishing gun we secured the window trim to the top of the post under the square cap and used the same steps as the base molding for the bottom of the post above the base. If you don’t have a finishing gun no problem, you can use gorilla glue to secure the trim to the post. You will need something to hold the wood in place while the glue dries. (If you use any trim for the post, I suggest you add some caulk to cover any gaps that may occur when assembling your post.)
We then used wood filler to fill all the holes that the finishing gun and screws made. This helps to protect the nails from the cold rainy days, preventing them from rusting away.
STEP FOUR: Once your wood filler is dried, lightly sand the rough edges smooth and paint with any paint you have available. Just make sure that the paint you use is lighter color than the spray paint or it will bleed through. If you don’t want to paint your post, you don’t have to. I just think this process will protect the wood from rotting in the cold weather months.
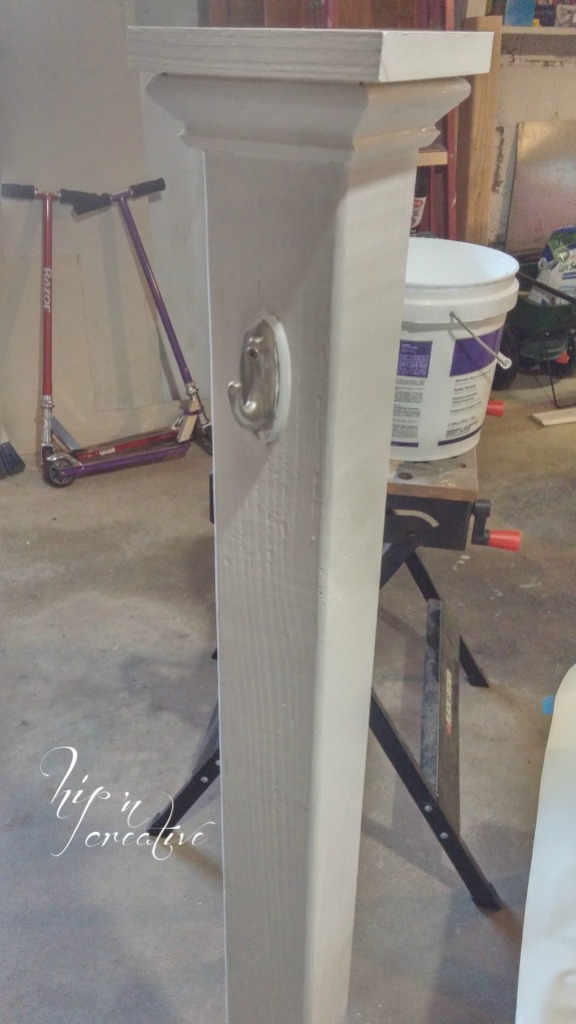
STEP FIVE: Once the paint has dried, I attached a small hook then paint the entire post with your color choice spray paint.
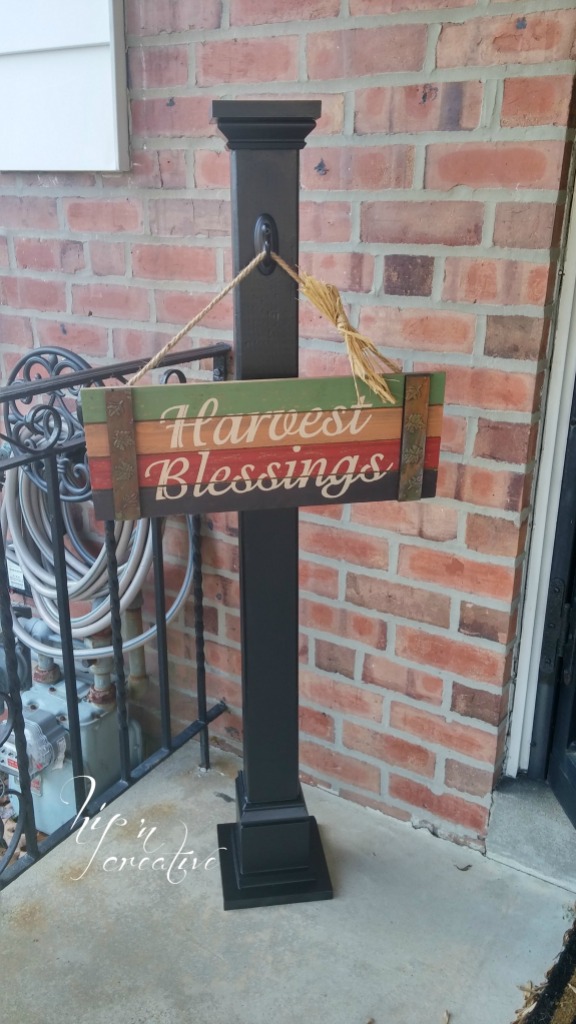
And there you have it! I have to admit this project took us a whole weekend to complete since we had to cut, paint, fill holes and caulk (with drying time in between) but I do love how gorgeous this post looks on our front porch. It’s so versatile. I can use it to decorate with many awesome accessories for each season or Holiday.
And for those of you wondering why the heck is a Harvest sign hanging on my post as we are in the summer season, we were entering the fall season when we made this wood post, so I quickly hung one of my old door signs on the post for the season. Sweet and simple.
If you decide to create your own Wood Welcome Post, I’d love to see it, please share your mad skills with me on Instagram using the hashtag #hnchome.
Come follow me on social media! – I love sharing sneak peaks of my projects on Instagram as well as sharing tons of inspiration from other bloggers on Facebook and Pinterest!
Good luck and Happy Creating. If you like this post, please be sure to pin it for later!