Dollar Tree DIY | Adorable Easter Bunny Pots | Hip ‘n Creative

Hey guys I hope you’re all feeling fabulous today! So Today I have this adorable DIY Easter Bunny Pot Tutorial for you. It is another super simple project but this time the project can be time consuming (because of the drying time for the paint) I think it’s adorable and if you have any school aged kids, they may love making this project with you!
What you will need:
- Terra Cotta Pots (Dollar Tree)
- Plastic Spoons (Dollar Tree)
- Sanding sponge (Dollar Tree)
- Paint Brushes (Dollar Tree)
- Pipe Cleaners (Dollar Tree) *optional
- Easter Grass (Dollar Tree) or anywhere 😉
- Floral Foam (Dollar Tree)
- Paint (Wal-Mart)
- Ribbon (Dollar Tree)
- newspaper or something to protect your surface
- Sharpies
DIRECTIONS:
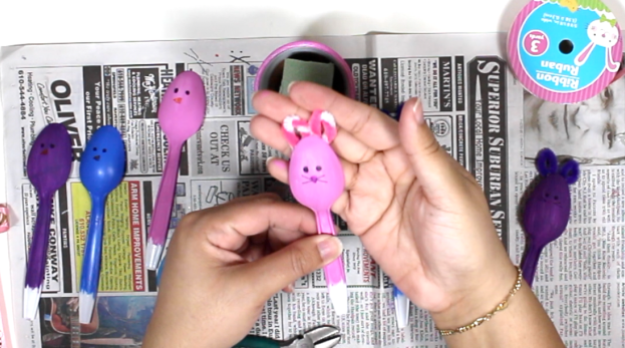
First thing I did was sand down the spoons to remove the shine. This will help the paint to adhere to the spoons easier.

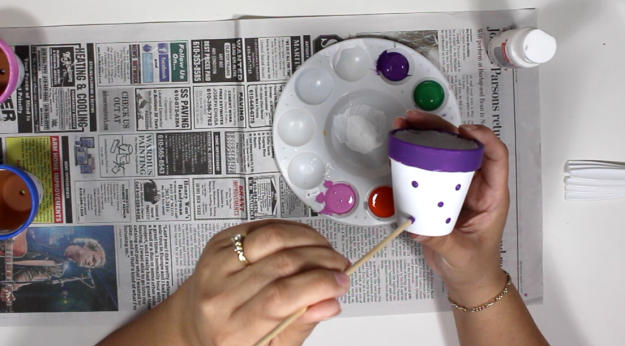
Next painted the pots white. You may need to paint 2 – 3 coats (allow drying time in between). Next I painted the pot’s rim (again giving it 2 -3 coats). I also painted some polka dots on the side of the pots. I also painted the spoons to coordinate with the pots.

 Once everything is dry you can draw the faces on the spoons. I drew dots for eyes and triangles for beak or bunny nose. The whiskers are “V” shapes 😉 I decided to make some bunny ears out of pipe cleaners, I cut out the pipe cleaners and shaped them into ears. Next I hot glued them to the back of the spoons. I also hot glued some decorative ribbon to the “neck” of the spoons.


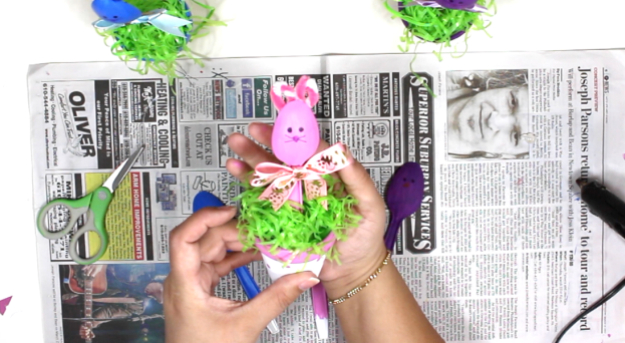
Lastly I assembled my pots. I cut down the floral foam to fit the narrowest part of the pot, then I inserted the foam, my spoons and easter grass. I also wrote my daughter’s names on a scrap piece of scrapbook paper and taped it onto a toothpick. and that’s it!

Now as usual, I did make a video for you. I would love it if you subscribed to my channel, it would truly mean the world to me. Also sharing is caring, so if you know of someone that would find this tutorial inspiring please share it with them. Thank you so much and I’ll see you soon!

