Budget Home Decor | DIY Vinyl Lettering on a Frame

Guys! I’m really excited to show you this super cute, super simple DIY project I did which only took me about 2 minutes to put together.
What you’ll need:
- vinyl transfer sheet of your choice (6″x6″ is what I used) I got mine at my local craft store on clearance for $1.00!
- an old 8×10 frame (or you can get one at the dollar store or Goodwill)
- gift bag, wrapping paper or scrapbook paper
- scrap paper (optional)
Directions:
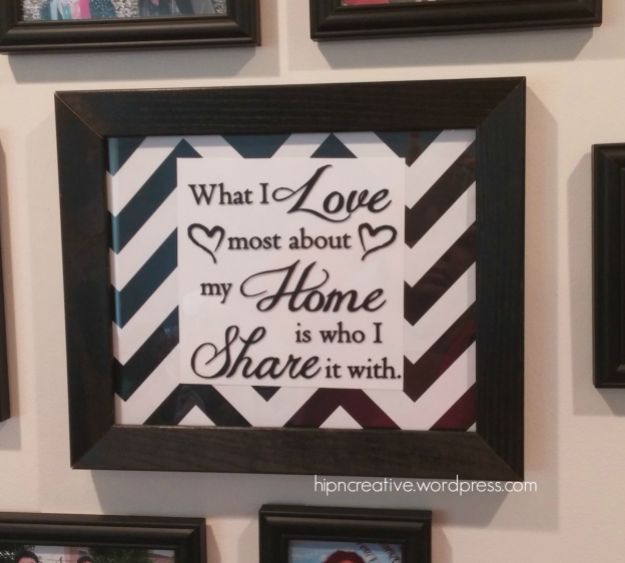
Measure and cut the wrapping paper to fit the inside of the frame (I used the glass from the frame for easy measuring). Then place the wrapping paper inside the frame and close it back up. Next grab your vinyl transfer sheet and center it to the glass and gently yet firmly rub it down. Carefully peal away the wax paper but please make sure you pull in an angle, if you pull straight up the vinyl lettering may come out.
Since my vinyl lettering was black and I used a black and white chevron gift bag, I added a white scrap of paper roughly framing the vinyl lettering and taped it against the gift bag (inside the frame). It helped the words to pop a bit, otherwise you wouldn’t be able to see them.
There you have it folks and easy and fun little project to add character to any wall or table!
I hope you enjoyed this fun tutorial! I’d love to hear what cool project you’re working on! Let me know in the comments below! Until next time!