Bathroom Closet Organization
Hi guys! Today I wanted to show you how I organized my bathroom closet. We’ve been blessed to have a closet in our bathroom with plenty of storage. But I have been neglecting it for a while now.
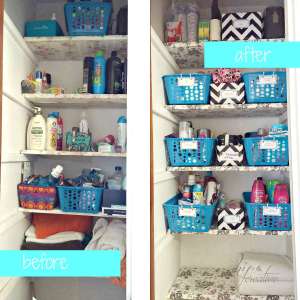
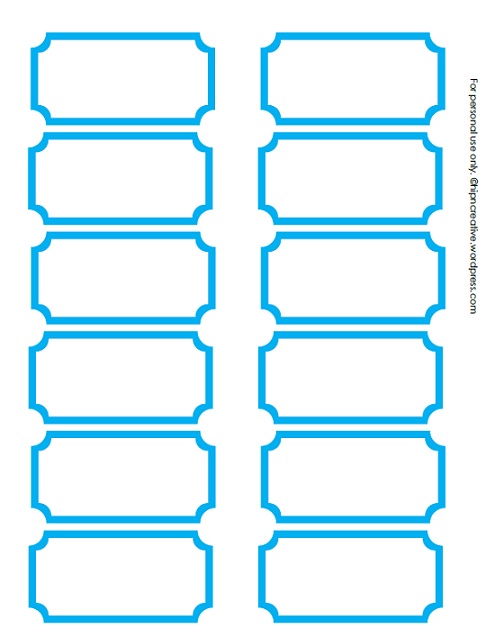
Over the summer I bought some Dollar Tree bins and wanted to spruce up my closet and get it all purrty. I organized it and then left it be. I really don’t go into this closet very often. I have my own bathroom and kept my stuff separate from the main bathroom with the exception of medications, I have them all in one spot away from the kids. One day I needed some allergy meds and couldn’t find it in the mess. So I decided to give it a quick cleaning, organized it with dollar tree bins and some shoe boxes and made some labels too. (click on the image below to download a copy of the labels)
I created the labels with a simple blue border, and created a category for my bathroom necessities then laminated them. I got the laminator on amazon for $20.00 -regular $33.00 plus free shipping. Good deal right?.
Quick Tip: If you don’t have a laminator, you can use packing tape! It’s a cheap alternative and the best part is that you can use a dry erase marker to erase and relabel your tags! You may be able find both the tape and the marker at your local Dollar Tree.
Ok here is what I did:
First I purge all the expired medicines and old products we didn’t use. Then I organized each bin or shoe box with same items. Example: I made a bin for all oral products- toothbrush, toothpaste, floss, mouthwash, etc. I made another for all medications- Tylenol, Aleeve, ibuprofen, etc and labeled it. I made one for First aid items -gauze, bandages, cotton swabs, cotton balls, etc… you get the idea. This system was great, immediately my oldest and hubby said this was a great idea because now they knew where everything is when they need it and where everything goes when they need to put things away!
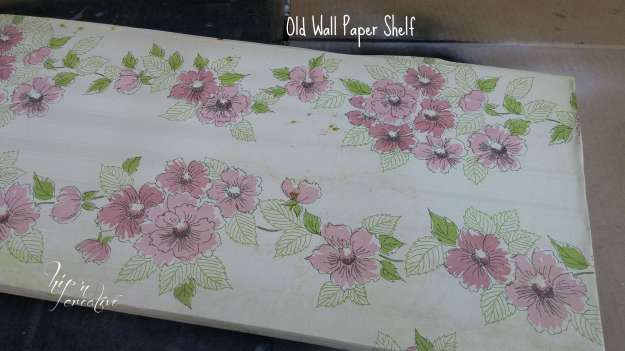
I also bought some shelf liners to use because I was sick to death of the old stained, smelly wall paper that was there previously.
Here is a close up of the old ugly wallpapered mess:
And here is the new version:
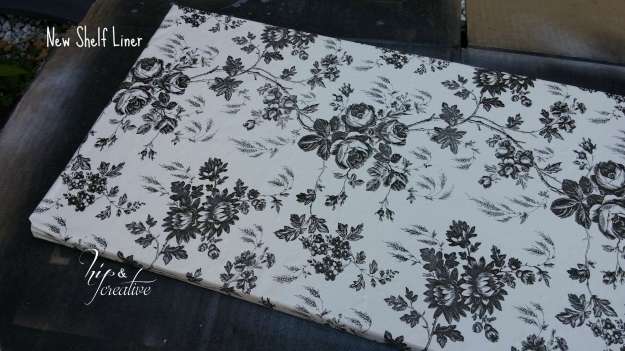
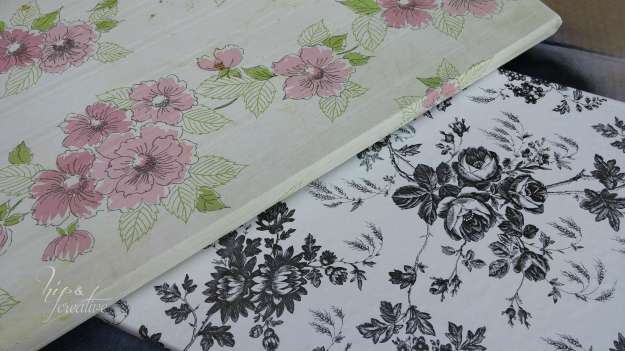
The old wall paper came off without of problem. It took me about 5 minutes to remove and replace the shelves with liners. All I did was measure the shelf and cut the liners, making sure to leave a half inch extra on the ends, while leaving about 2inches front and back. For the top two shelves, I completely wrapped both the top and the bottom of the shelves (like a gift) so when I look up I don’t see the ugly shelf, but nice liner. I love how it looks, that small change made the bathroom look way better. The best part is that it only cost me $3.00! I have extra liners that I purchased and didn’t use in the closet that I will be using under my bathroom sinks. Even my hubby and the kids like the way it looks!
Thanks so much for stopping by! I hope this motivates you to spruce up a neglected space. Remember don’t strive for perfect, strive for done!
Until next time my friends!
**This is not a sponsored blog post. All opinions are my own**

