How to Add Custom Vent Covers to Sliding Doors | Repurposing an old Door
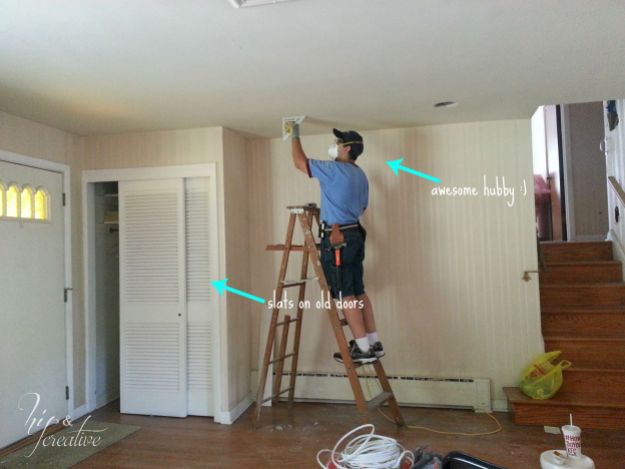
Hi guys! Today I wanted to share with you our recent re-purposing project. When we first bought our house, 3 years ago (can you believe it?) we wanted to make some changes to our living room. One of the changes was to update and add lighting since there was non previously (See my awesome hubby adding lighting in picture below). We also sanded the floors and shined them all up real purdy like too. We removed wall paper and painted the walls, which looks awesome by the way ;).

I had this idea to change the look of our old doors by removing the old slats and adding some awesome metal vent covers to the doors to give them a modern look. So after discussing it with the hubs, we figured out a way to do just that.
So here is our step by step tutorial on how to add vent covers to sliding doors:
Materials you will need:
- Metal Vent Covers (I found mine at Home Depot)
- Wood filler
- Window trim
- small square wooden dowels
- paint of your choosing (to paint wood doors) *optional
- Spray paint (to paint vent cover) *optional
What you will need on hand:
- Jigsaw
- flat surface to work with
- time and patience (lots and lots)
- nail gun and finishing nails (Home Depot)
- lots and lots of patience!
First thing we did was remove the sliding doors from the doorway and very carefully cut the slats out leaving the door frame intact. Next my husband filled the holes where the slats were with wood filler.

While the wood filler was drying, he measured, cut and spray painted the metal vent covers (we used Rustoleum white paint). After letting the wood filler completely dry (it took about 30 minutes), he carefully sanded all the doors until they were smooth.


Next he framed the front of the door with window trim, this will help the metal vent covers stay in place so it won’t pop out. Next using a nail gun, we nailed the vent covers to the door. We also added a small wooden dowels to the back of the doors. This helped to hide the nails as well as provided extra back support for the metal vent covers not to slip out when opening and closing the doors.


Once we were happy with how the doors looks and works, we primed and painted the door. We wanted to keep the doors white so priming and painting was pretty easy. Once the paint dried, we replaced the doors back in it’s frame and done. I have to admit this project was not an easy project and if your not that skills with air pressured machinery, this project is not for you. It’s time consuming and you need a lot of patience as well as some carpentry knowledge.
I thank God my hubby is very talented and we were able to get this sucker done. I really couldn’t have done this without his help. Until next time my friends!
**UPDATE: A year later and our door is perfect! Even though it was A LOT of work, it was so worth it! My husband and I are still in love with this project and are proud we DIYed this makeover, our first of many projects!


