Chocolate Covered Oreos Tutorial
This week I’m working on my daughter’s 4th Birthday party. One of the treats I’m working on is Chocolate Covered Oreos. Oh my gosh are these sooo easy to make! I’ve been wanting to make something cute and special for her big day (of course, it’s what I do!) So I decided to go with chocolate covered oreos YUM!.
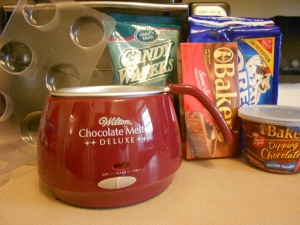
Here is a list of what you will need:
*Chocolate/Candy Mold {found at here}
*Oreos {some people prefer double stuffed, but I used regular and they worked out fine}
*Soft Spatula or something flat
*Spoon {optional}
*Fridge space 😉
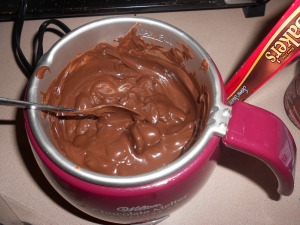
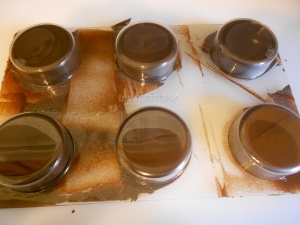
Step 1: Melt the candy mold in a double boiler (or candy melt or microwave) follow instructions on the bag {easy to do}. Please make sure you don’t over heat the candy molds. It’ll get all dry and yucky.. not fun!
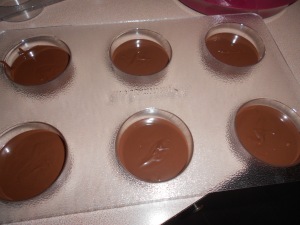
Step 2: Once the candy has melted fill the candy molds about 1/3 of the way.
Step 3: Take those yummy oreos and put them in the mold. Make sure the press the oreos in a bit so the chocolate can kinda wrap itself around the oreos. With a regular spoon pour some melted chocolate to cover up the rest of the oreo.
Make sure you tape the mold on the table a few times to let some of the air bubble out or you’ll get a lumpy oreo. And if you have any excess chocolate you can level it with a spatula.
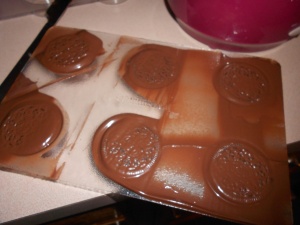
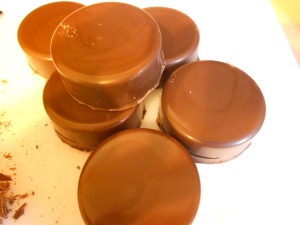
Step 4: Let the mold cool and harden then place in the refrigerator for about 15 minutes. Take them out of the fridge and turn them over and gently push the back of the mold to pop the oreos out!
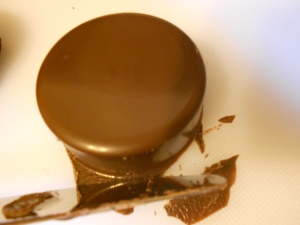
If you happen to get some excess candy {like I did} on the oreos you can lightly scrape them off with a knife. It will help give the oreo a smooth professional look.
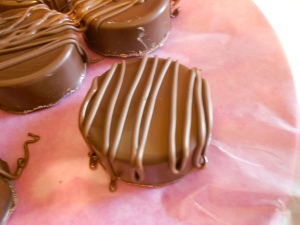
If you have any left over chocolate, grab yourself a ziploc or sandwhich bag, pour the cooled chocolate into the bag. Snip a corner of the bag just enough to drizzle a zig-zag pattern on the oreo. Like so:
 That’s it! Now all you have to do is keep yourself from eating all the yummy oreo treats!~

